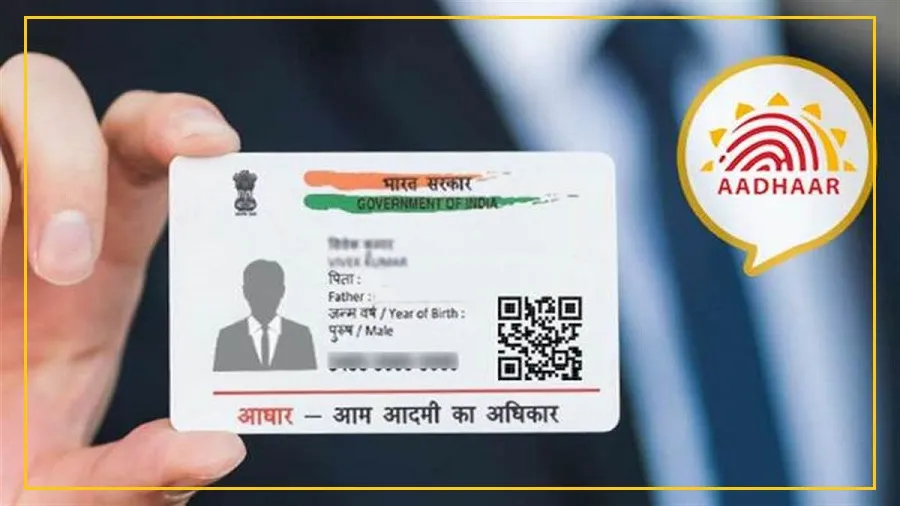
If you’re looking to perform offline Aadhaar verification securely and conveniently, the mAadhaar app offers a paperless solution through its e-KYC feature.
Here’s a step-by-step process to create your e-KYC document using the mAadhaar app:
1. Log In to the mAadhaar App:
Open the mAadhaar app and enter your registered mobile number to log in.
2. Receive and Enter OTP:
Upon entering your mobile number, you’ll receive an OTP. Use this OTP to authenticate and log in to the app.
3. Access Aadhaar Services:
On the home screen, navigate to the ‘Services’ tab located at the bottom.
4. Choose Paperless Offline e-KYC:
Under ‘Aadhaar Services,’ select ‘Paperless Offline e-KYC’ from the options provided.
5. Enter Aadhaar Details:
Enter your Aadhaar number, share code, and security captcha as prompted.
6. Request OTP and Verify:
Click on ‘Request OTP’ and wait to receive the OTP on your registered mobile number. Enter the OTP received and click on ‘Verify.’
7. Select Document Format:
Choose the desired format for your e-KYC document from options such as XML, ZIP, and QR Code.
8. Review Information:
Double-check the details presented in the e-KYC document, ensuring accuracy of information like name, address, and photo.
9. Share e-KYC Document:
After confirming the details, click on ‘Share e-KYC’ to generate the document. You can share it through various platforms such as email, WhatsApp, or Bluetooth.
Important Points to Note:
- Ensure the mAadhaar app is installed and linked to your Aadhaar number on your device.
- Your mobile number linked to Aadhaar must be active to receive OTPs.
- Safeguard your Share Code, treating it as a confidential password for e-KYC requests.
- The e-KYC document is digitally signed by UIDAI, ensuring its authenticity and security for offline verification purposes.
By following these steps, you can easily generate your e-KYC document using the mAadhaar app, offering a convenient and secure solution for offline Aadhaar verification.


